If I had the opportunity to start fly tying all over again, I think this is the first pattern I would start with. In all its forms, the Hare’s Ear Nymph catches fish and there are a lot of forms of this fly. The version this step-by-step will have you tie skips a lot of nymph-y elements, but it can serve as the basis for more sophisticated versions you can tie without (or with) having to stray from the Effective Materials List. Or you can just keep tying this stripped-down model and spend the time you save putting them in front of fish.
Mise en place
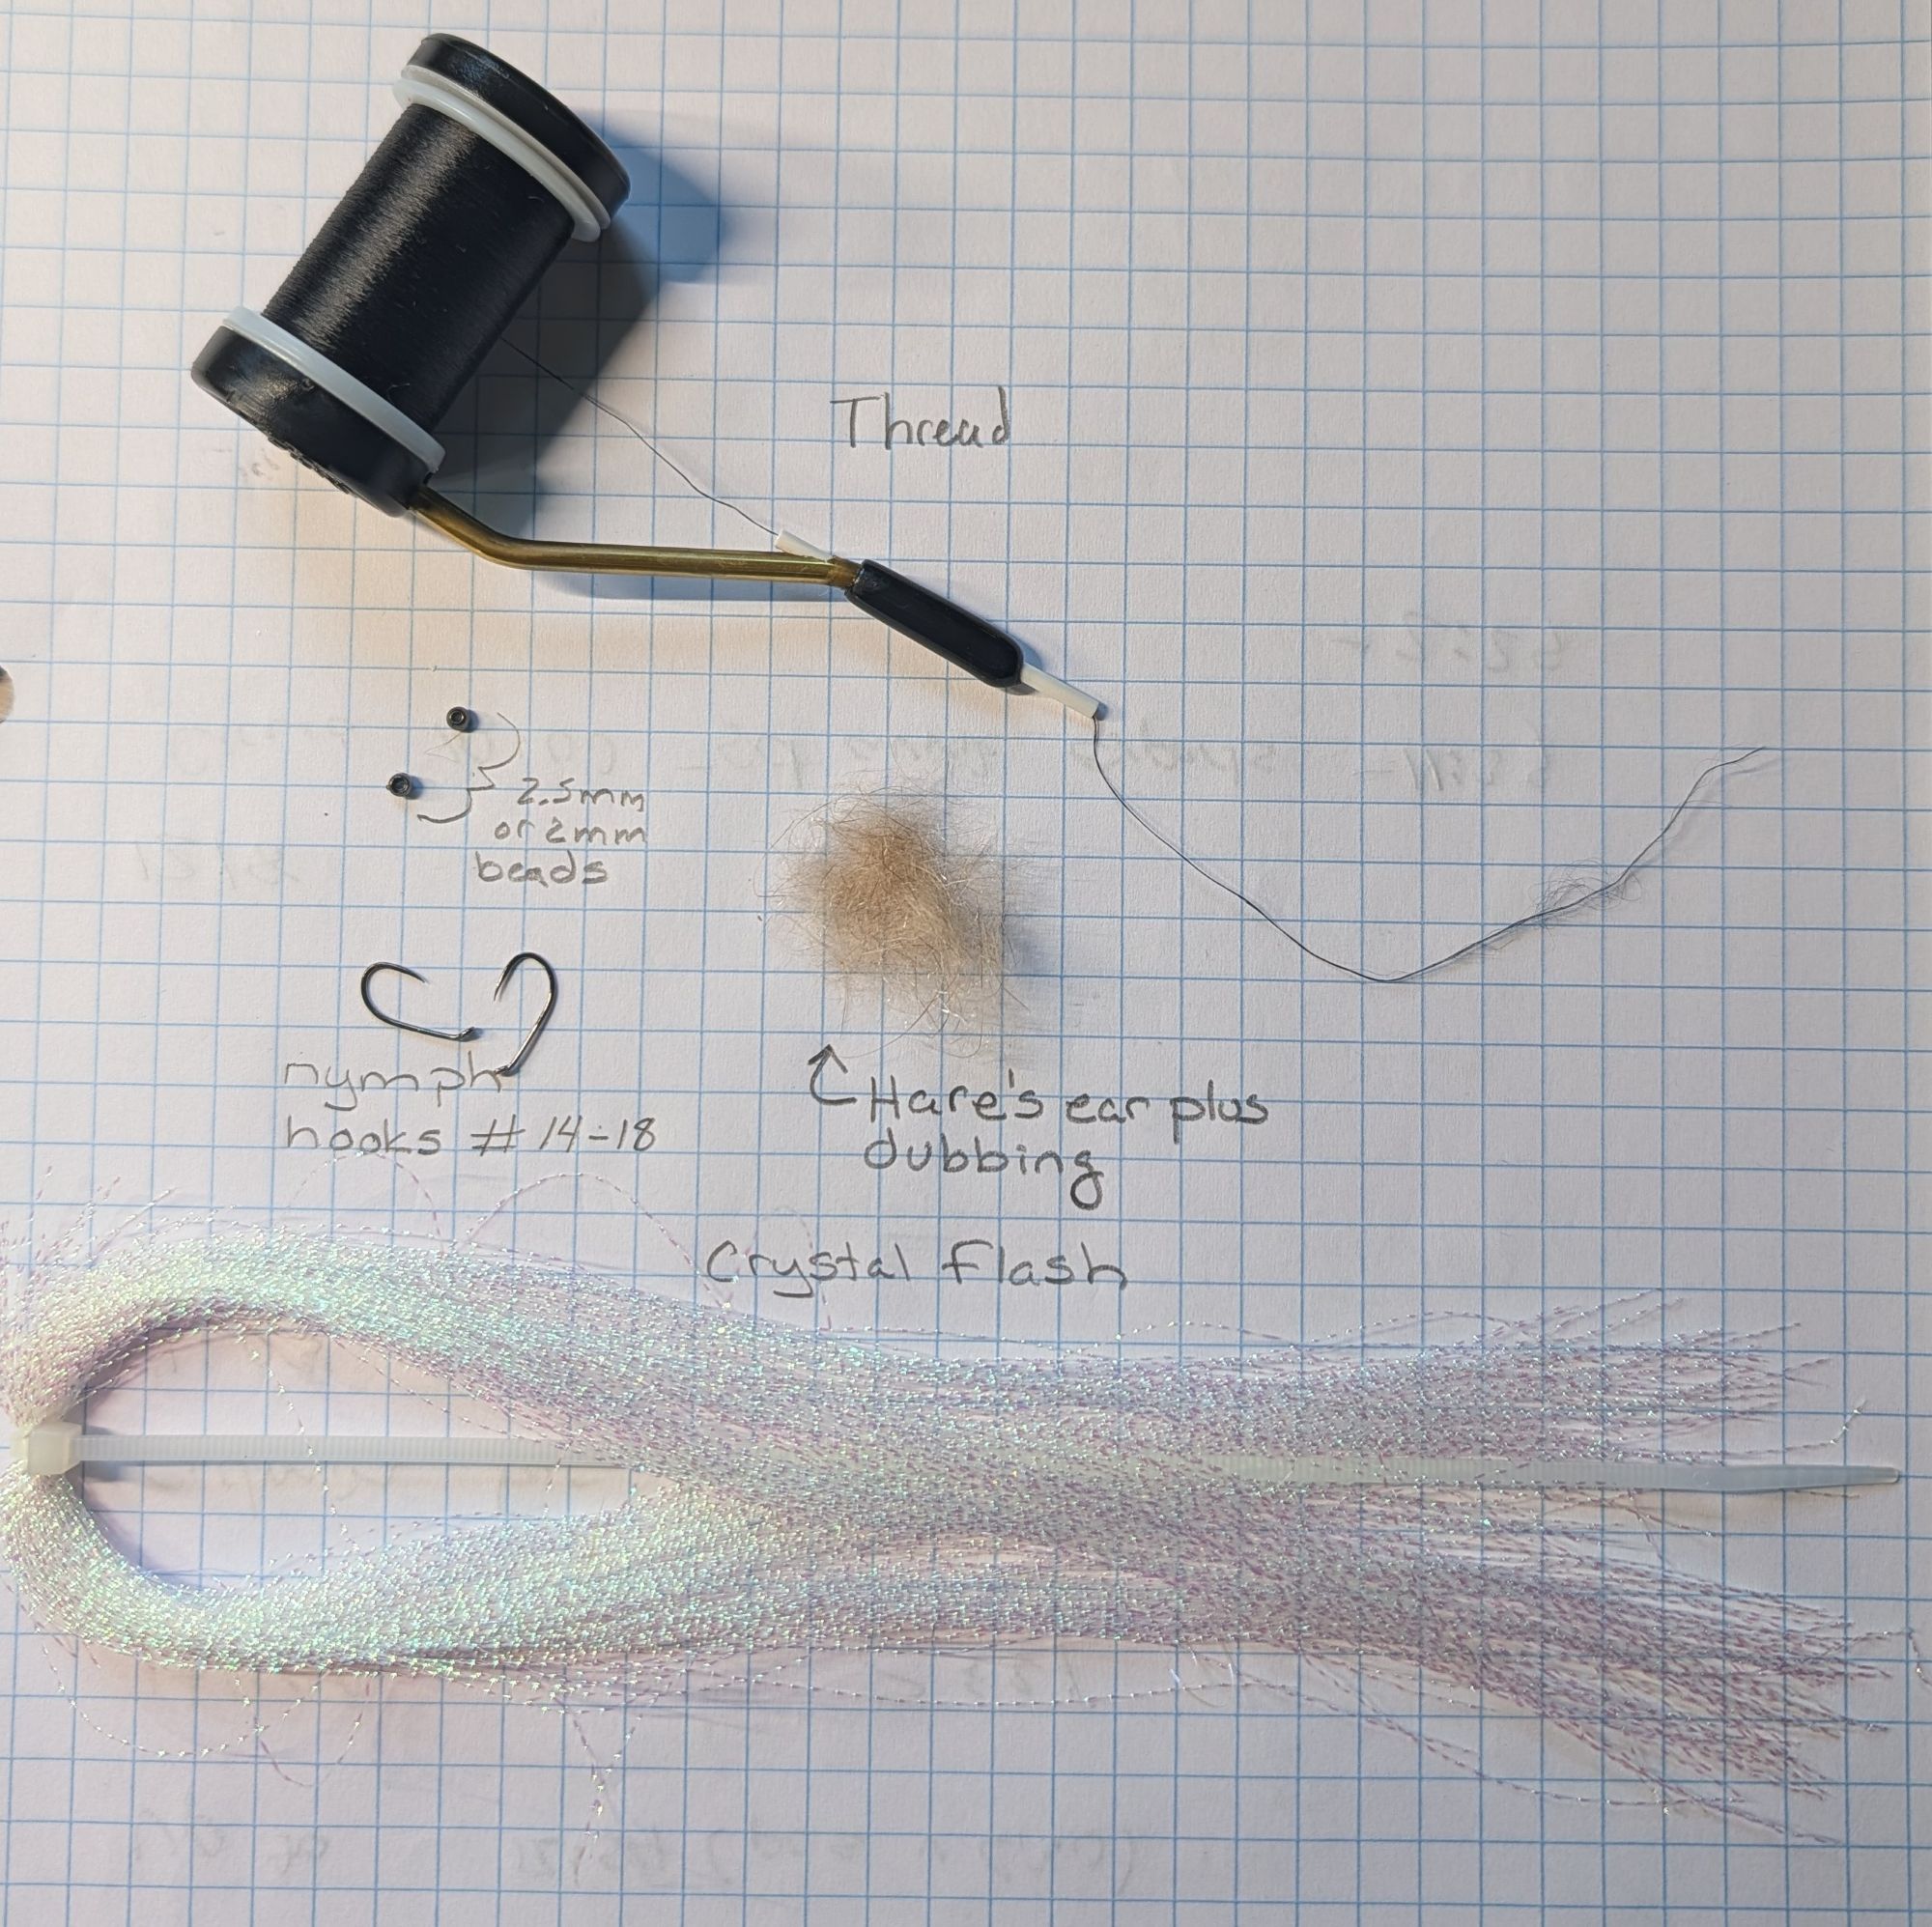
For this buggy little tie, we will use:
- A size 14 or 18 hook. Move up or down as you need.
- A size 2.5mm bead for a #14 or a 2mm bead for a #18 works for me. They can be heavier or lighter, decide how fast and far you need to get down.
- If you want to tie the nymph to an anchor, use a medium or small glass bead it will give you some flash without weight.
- Some spiky, buggy dubbing. I’ll use Hare’s Ear Plus here but don’t feel constrained by the pattern name.
- For each, a strand of something flashy. I like to use Pearl Krystal Flash (which would also make a great stripper name) but there are lots of choices, none of them wrong.
Construction
Starting with the hook and bead of your choosing, we will skip a tail, tie in some rib, touch dub a body, skip a thorax, skip a wing case, rib it up and call it a day. Let’s get busy.
Bead
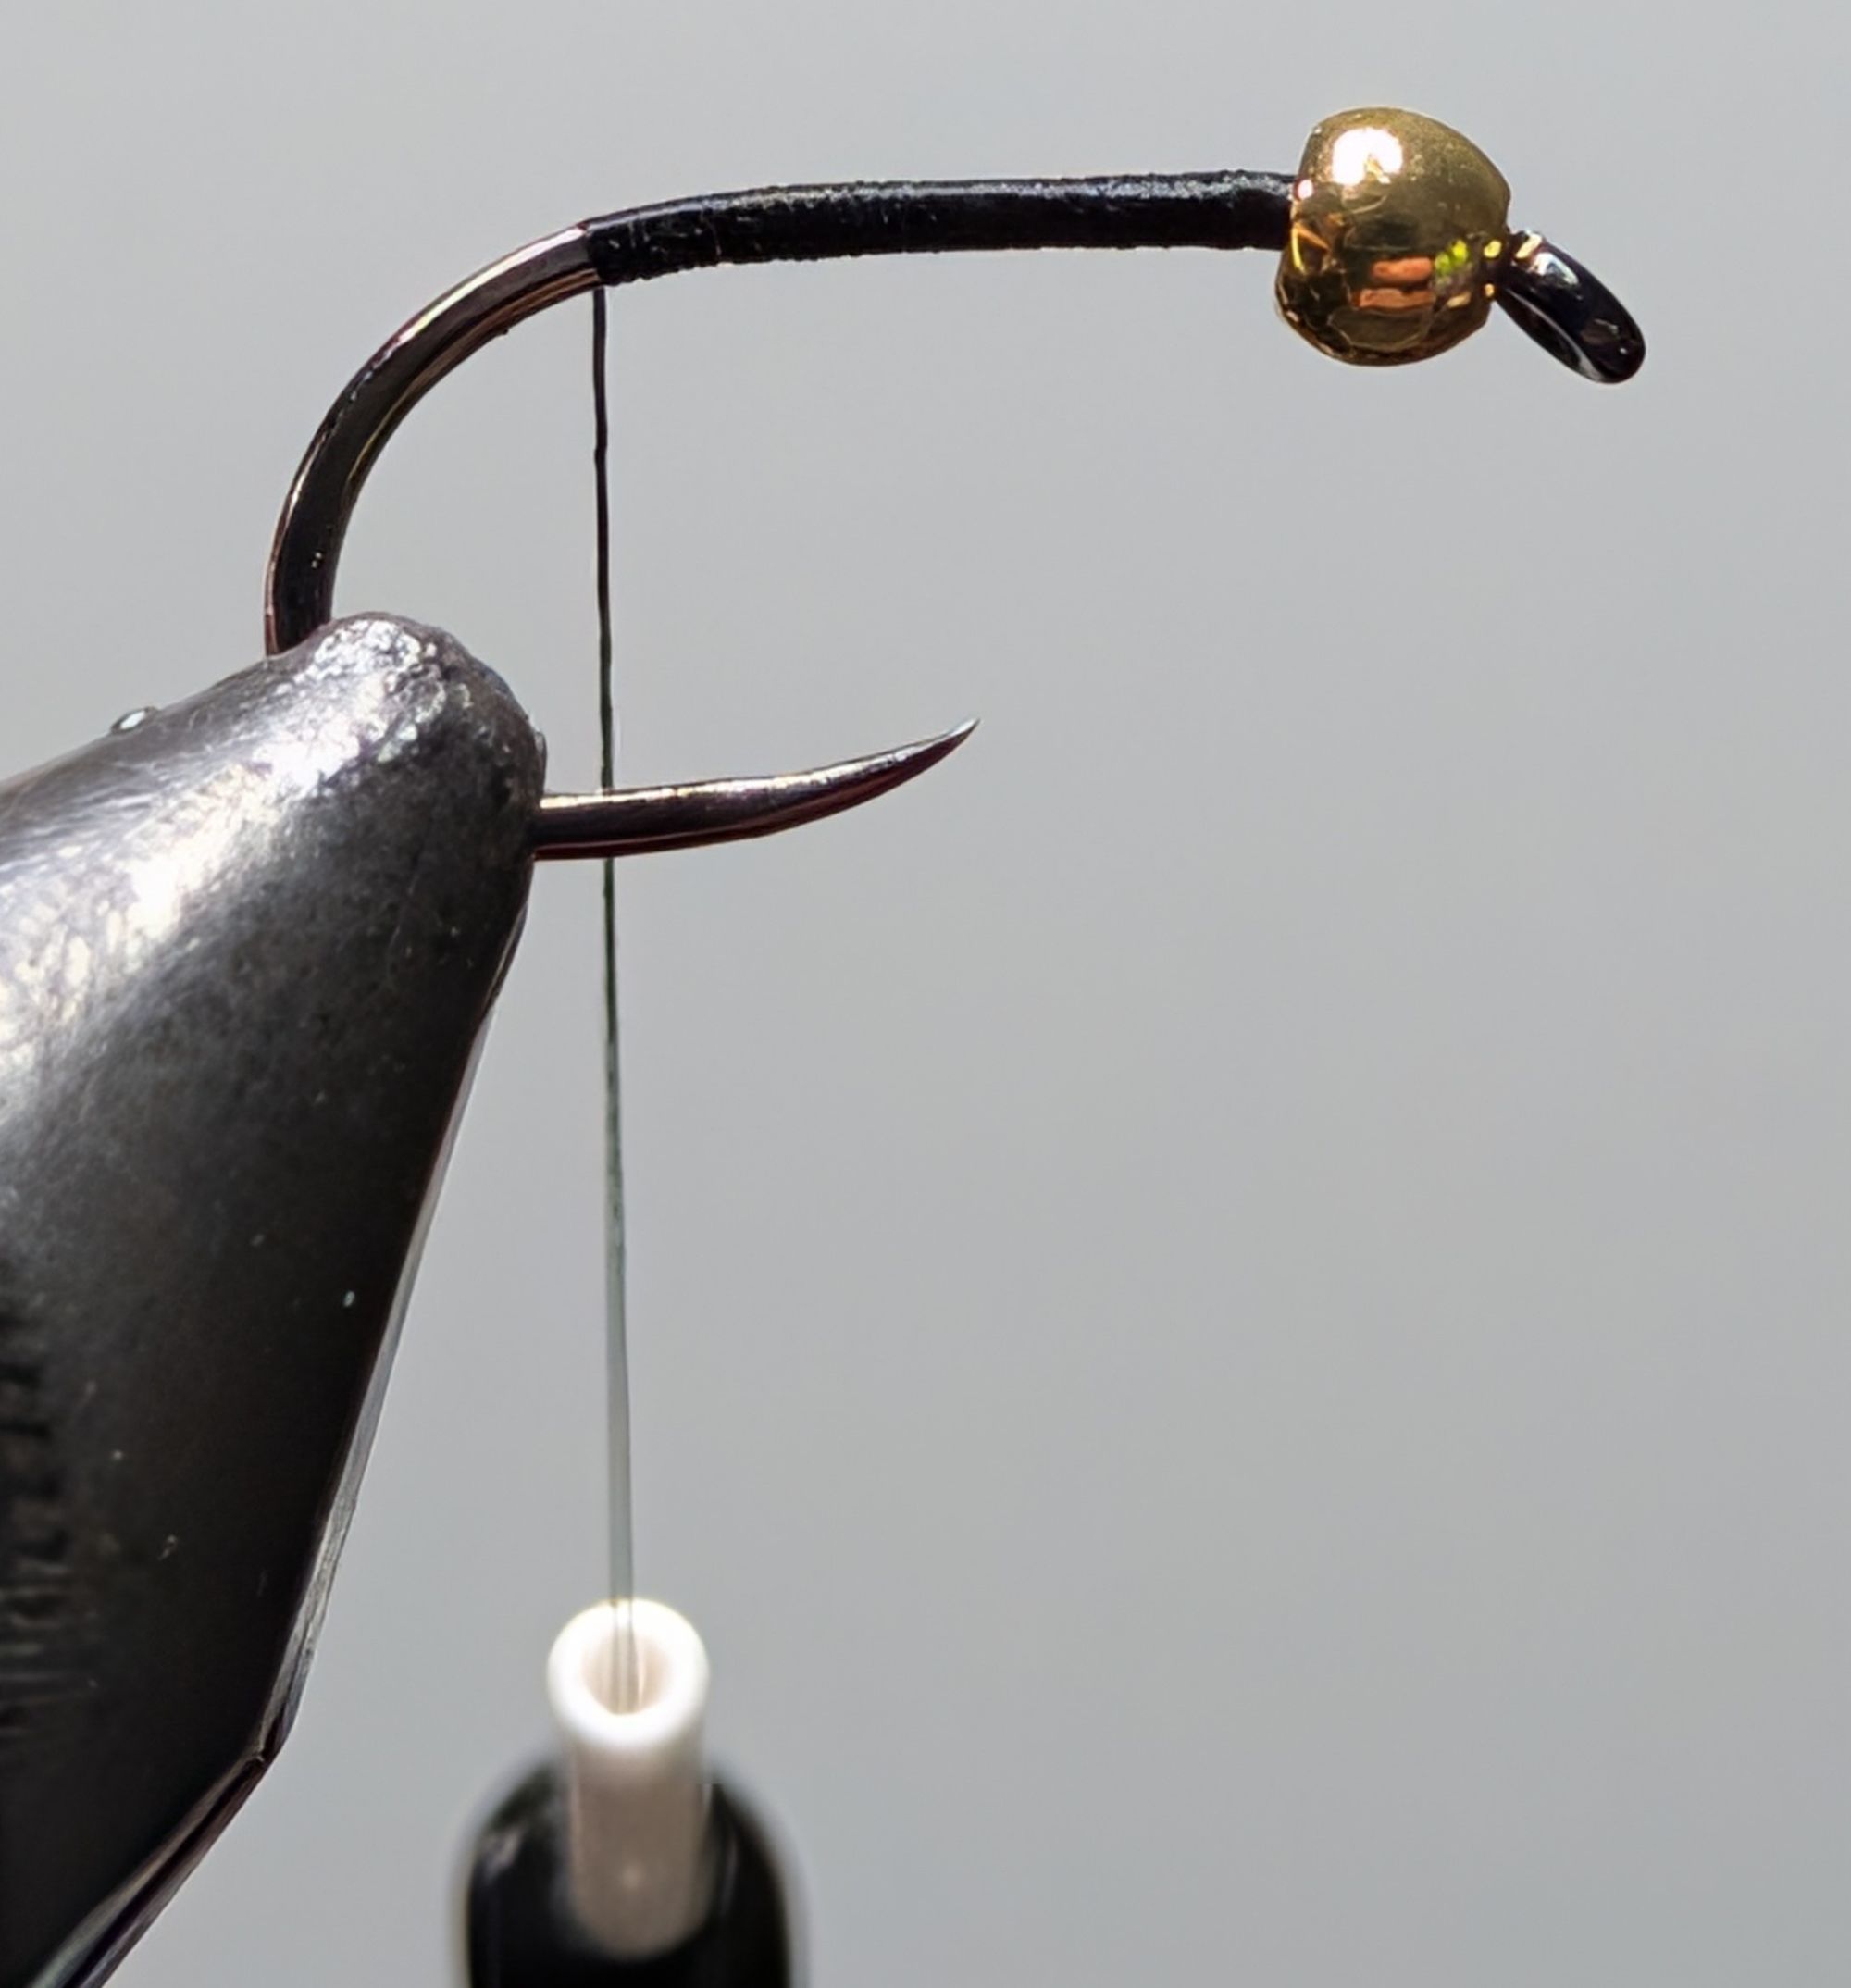
Put the bead on (little hole forward) start the thread and head for the end of the hook where it starts to cureve down.
Skip The Tail
This is where a tail would get added. If we were adding one. Which we are not.
Rib
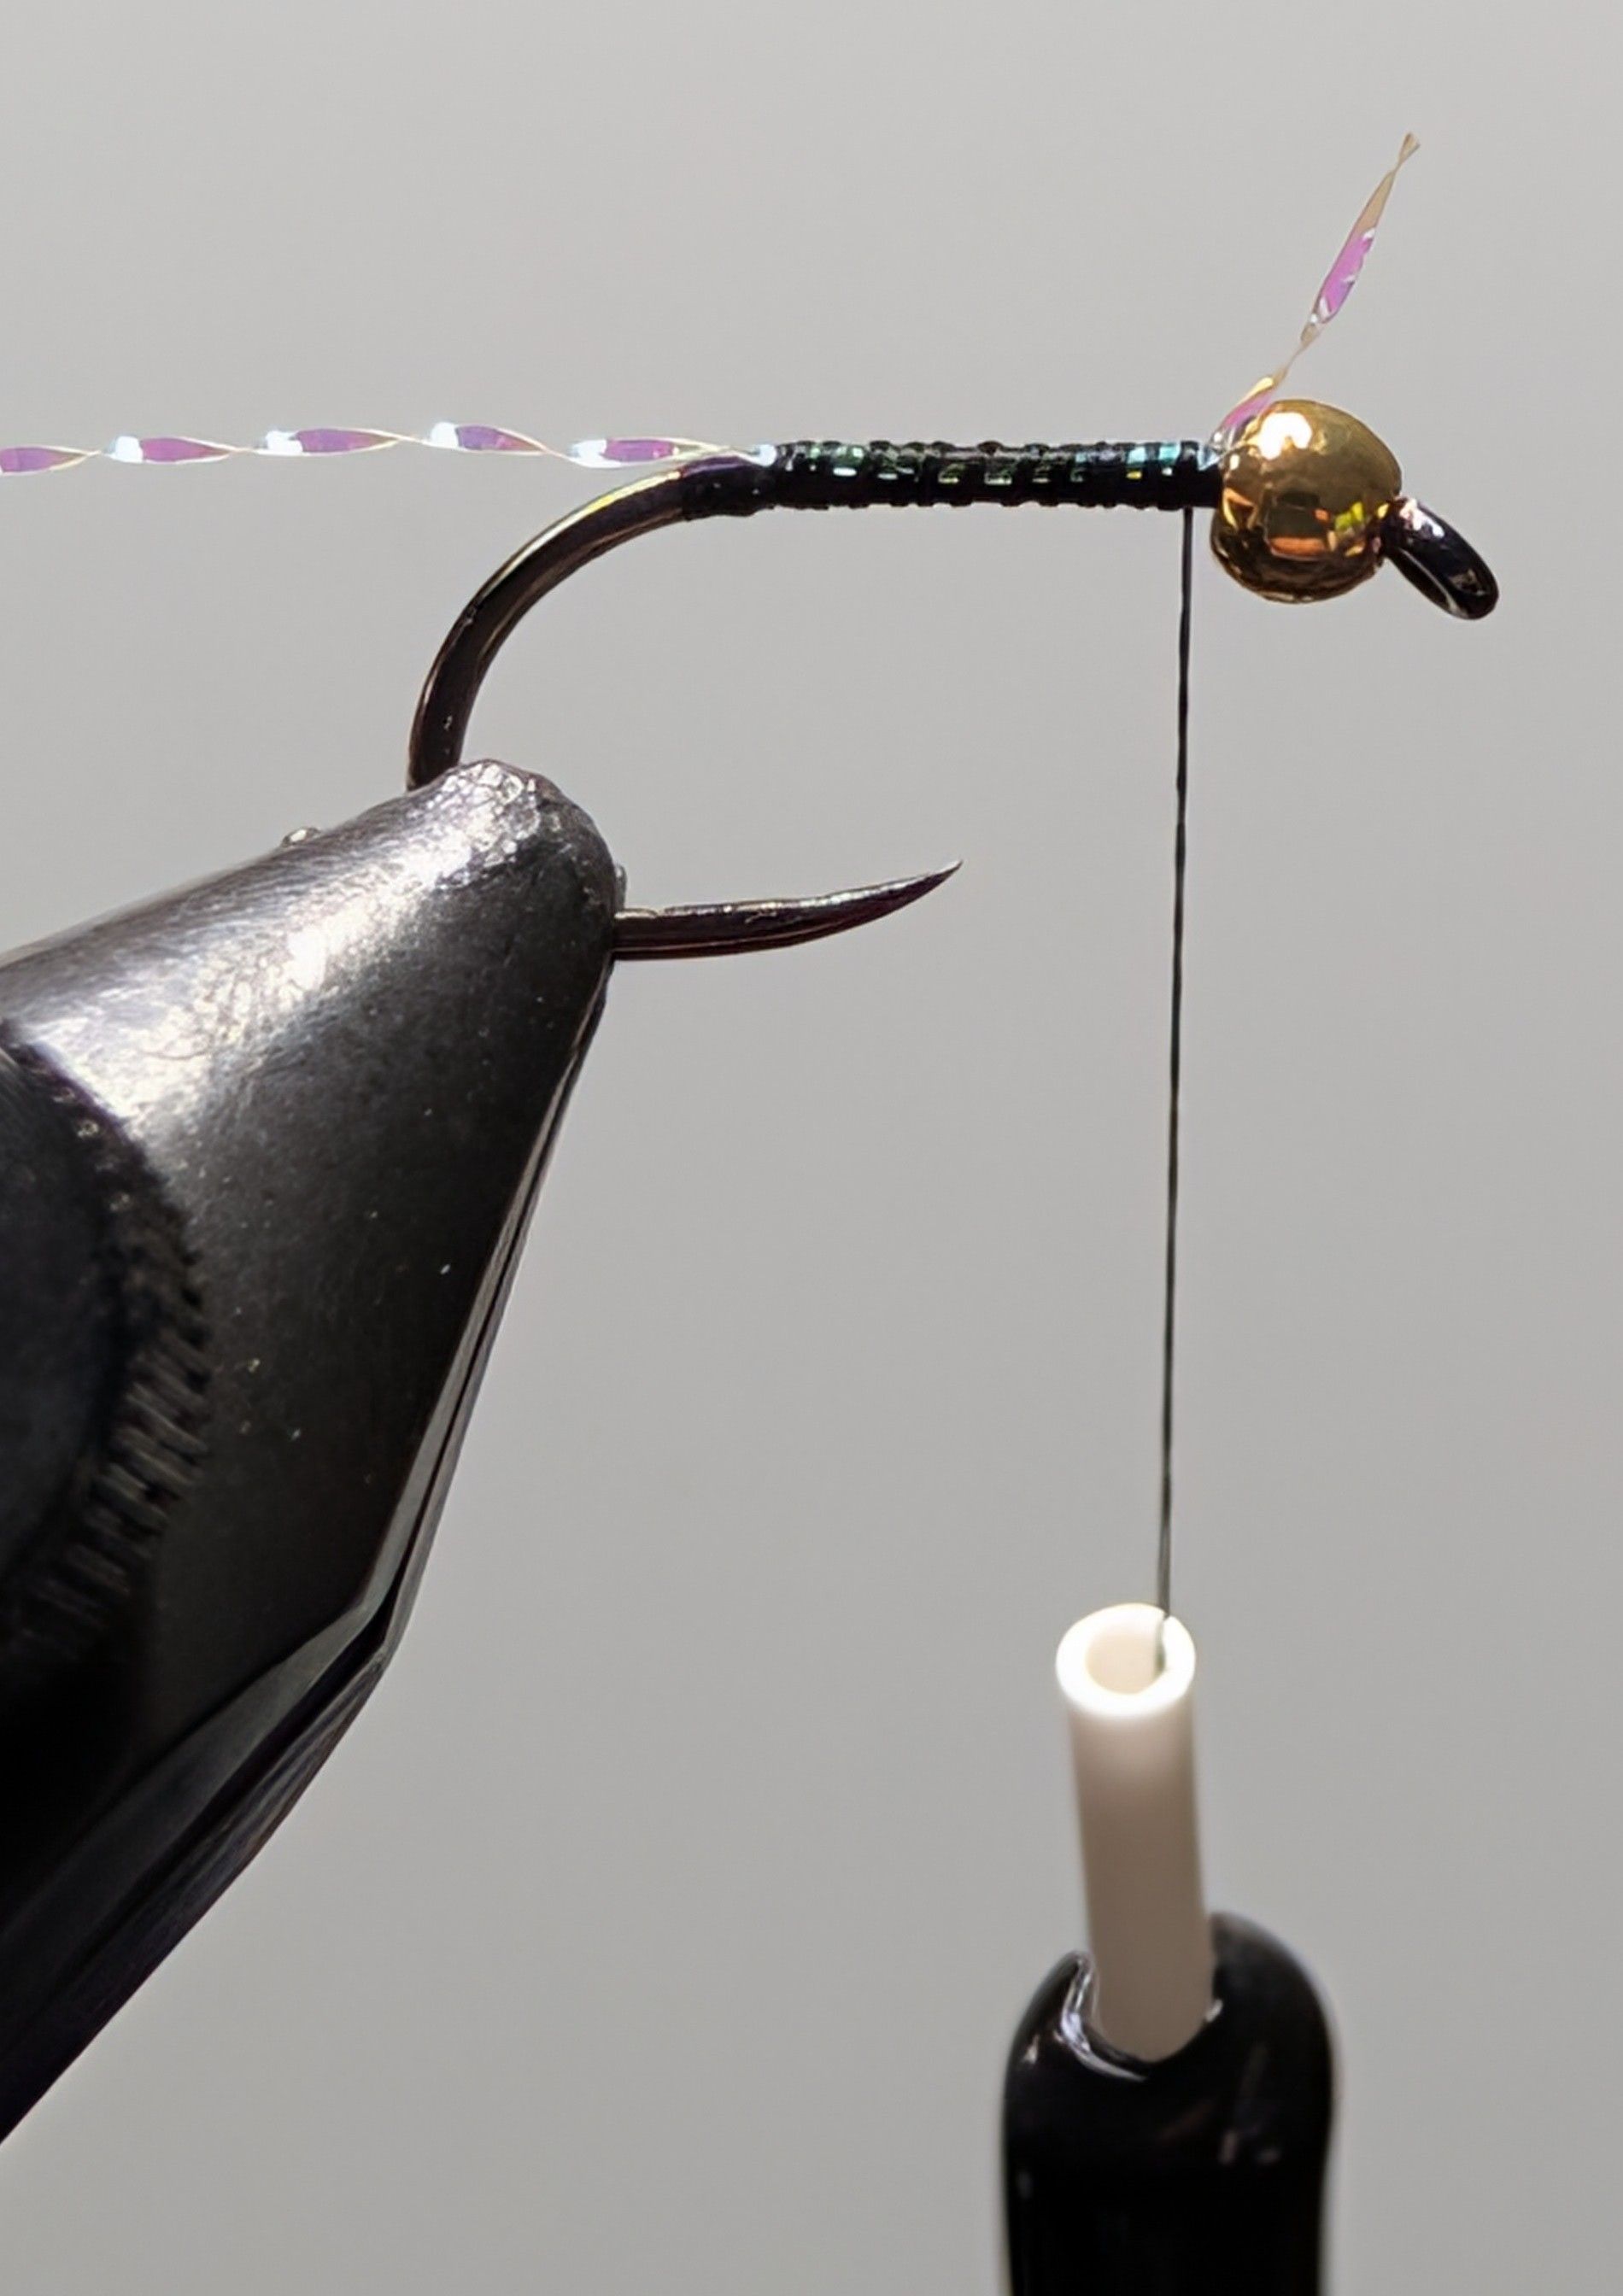
Tie in your ribbing and run that thread back forward to the bead snipping the excess ribbing off somewhere on that journey.
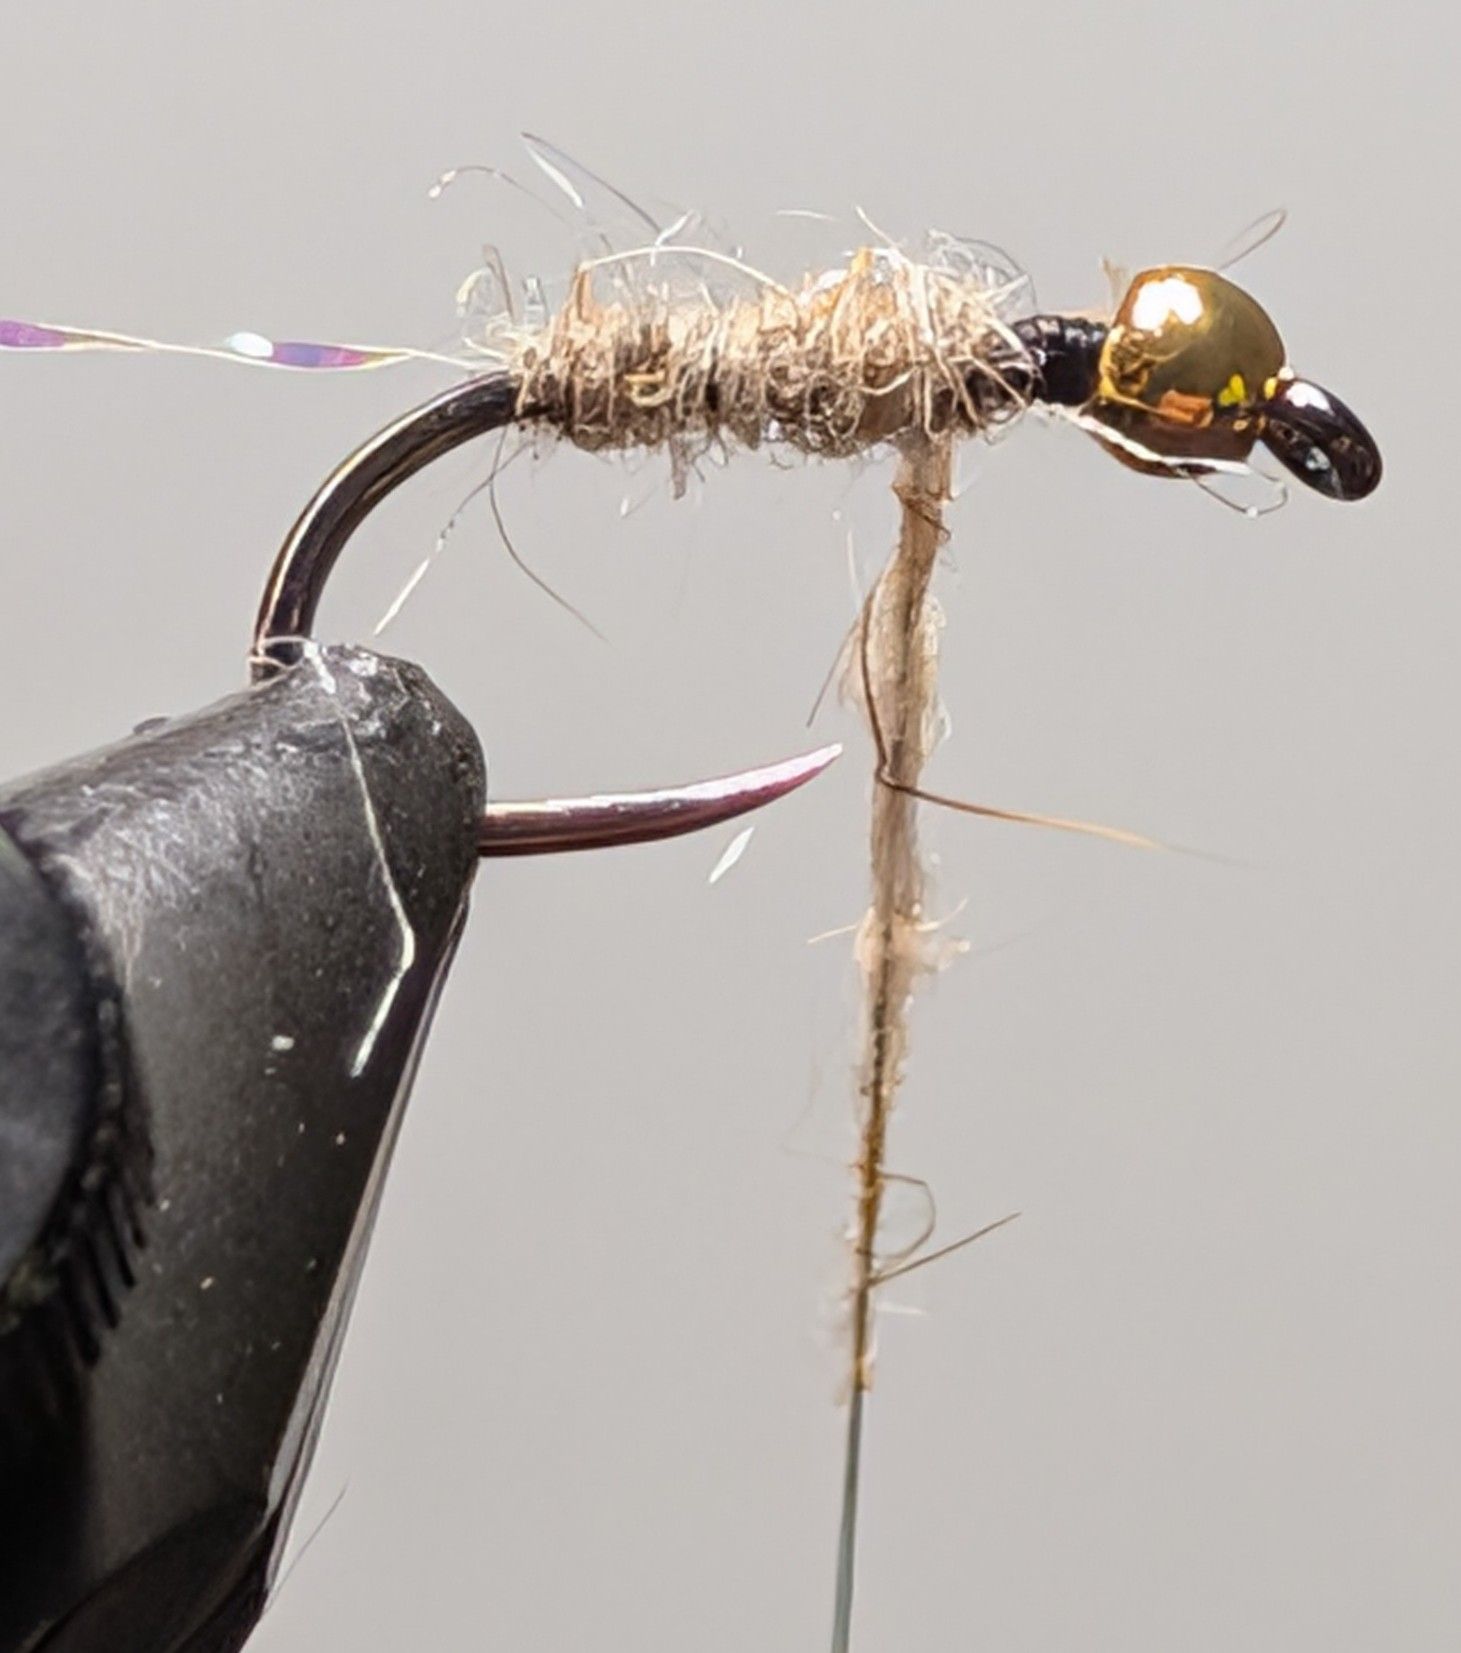
Body
Bring that thread back to the place where you were before you tied in the rib. Take a small pinch of dubbing. Put half of it back, now take half of what you have left and put half of that on the thread.
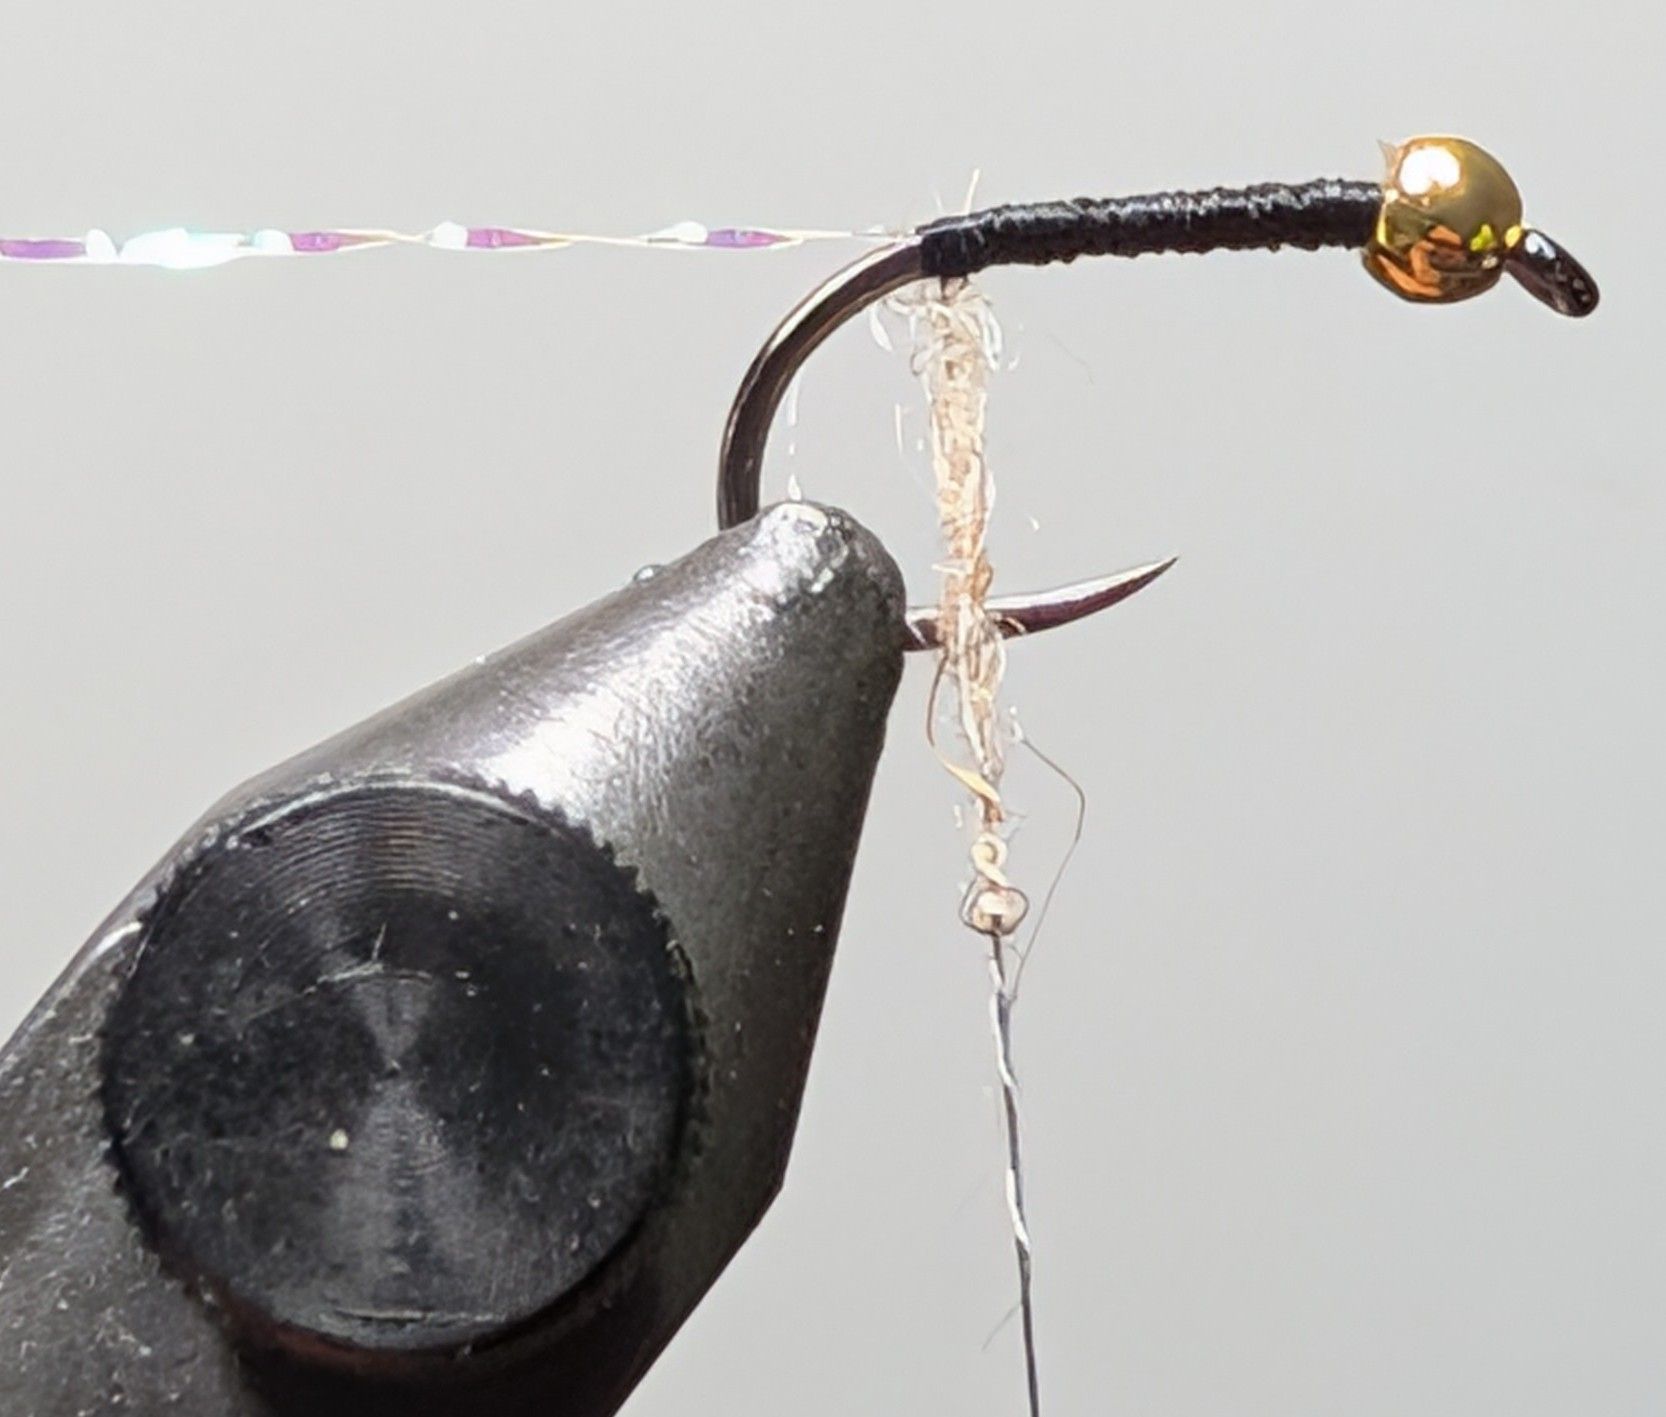
Now continue that process, touch dubbing the thread with minute amounts of spiky hairy goodness building an ever so slightly tapered body up to about a virtual bead behind the actual bead you’ve got on there.
Thorax
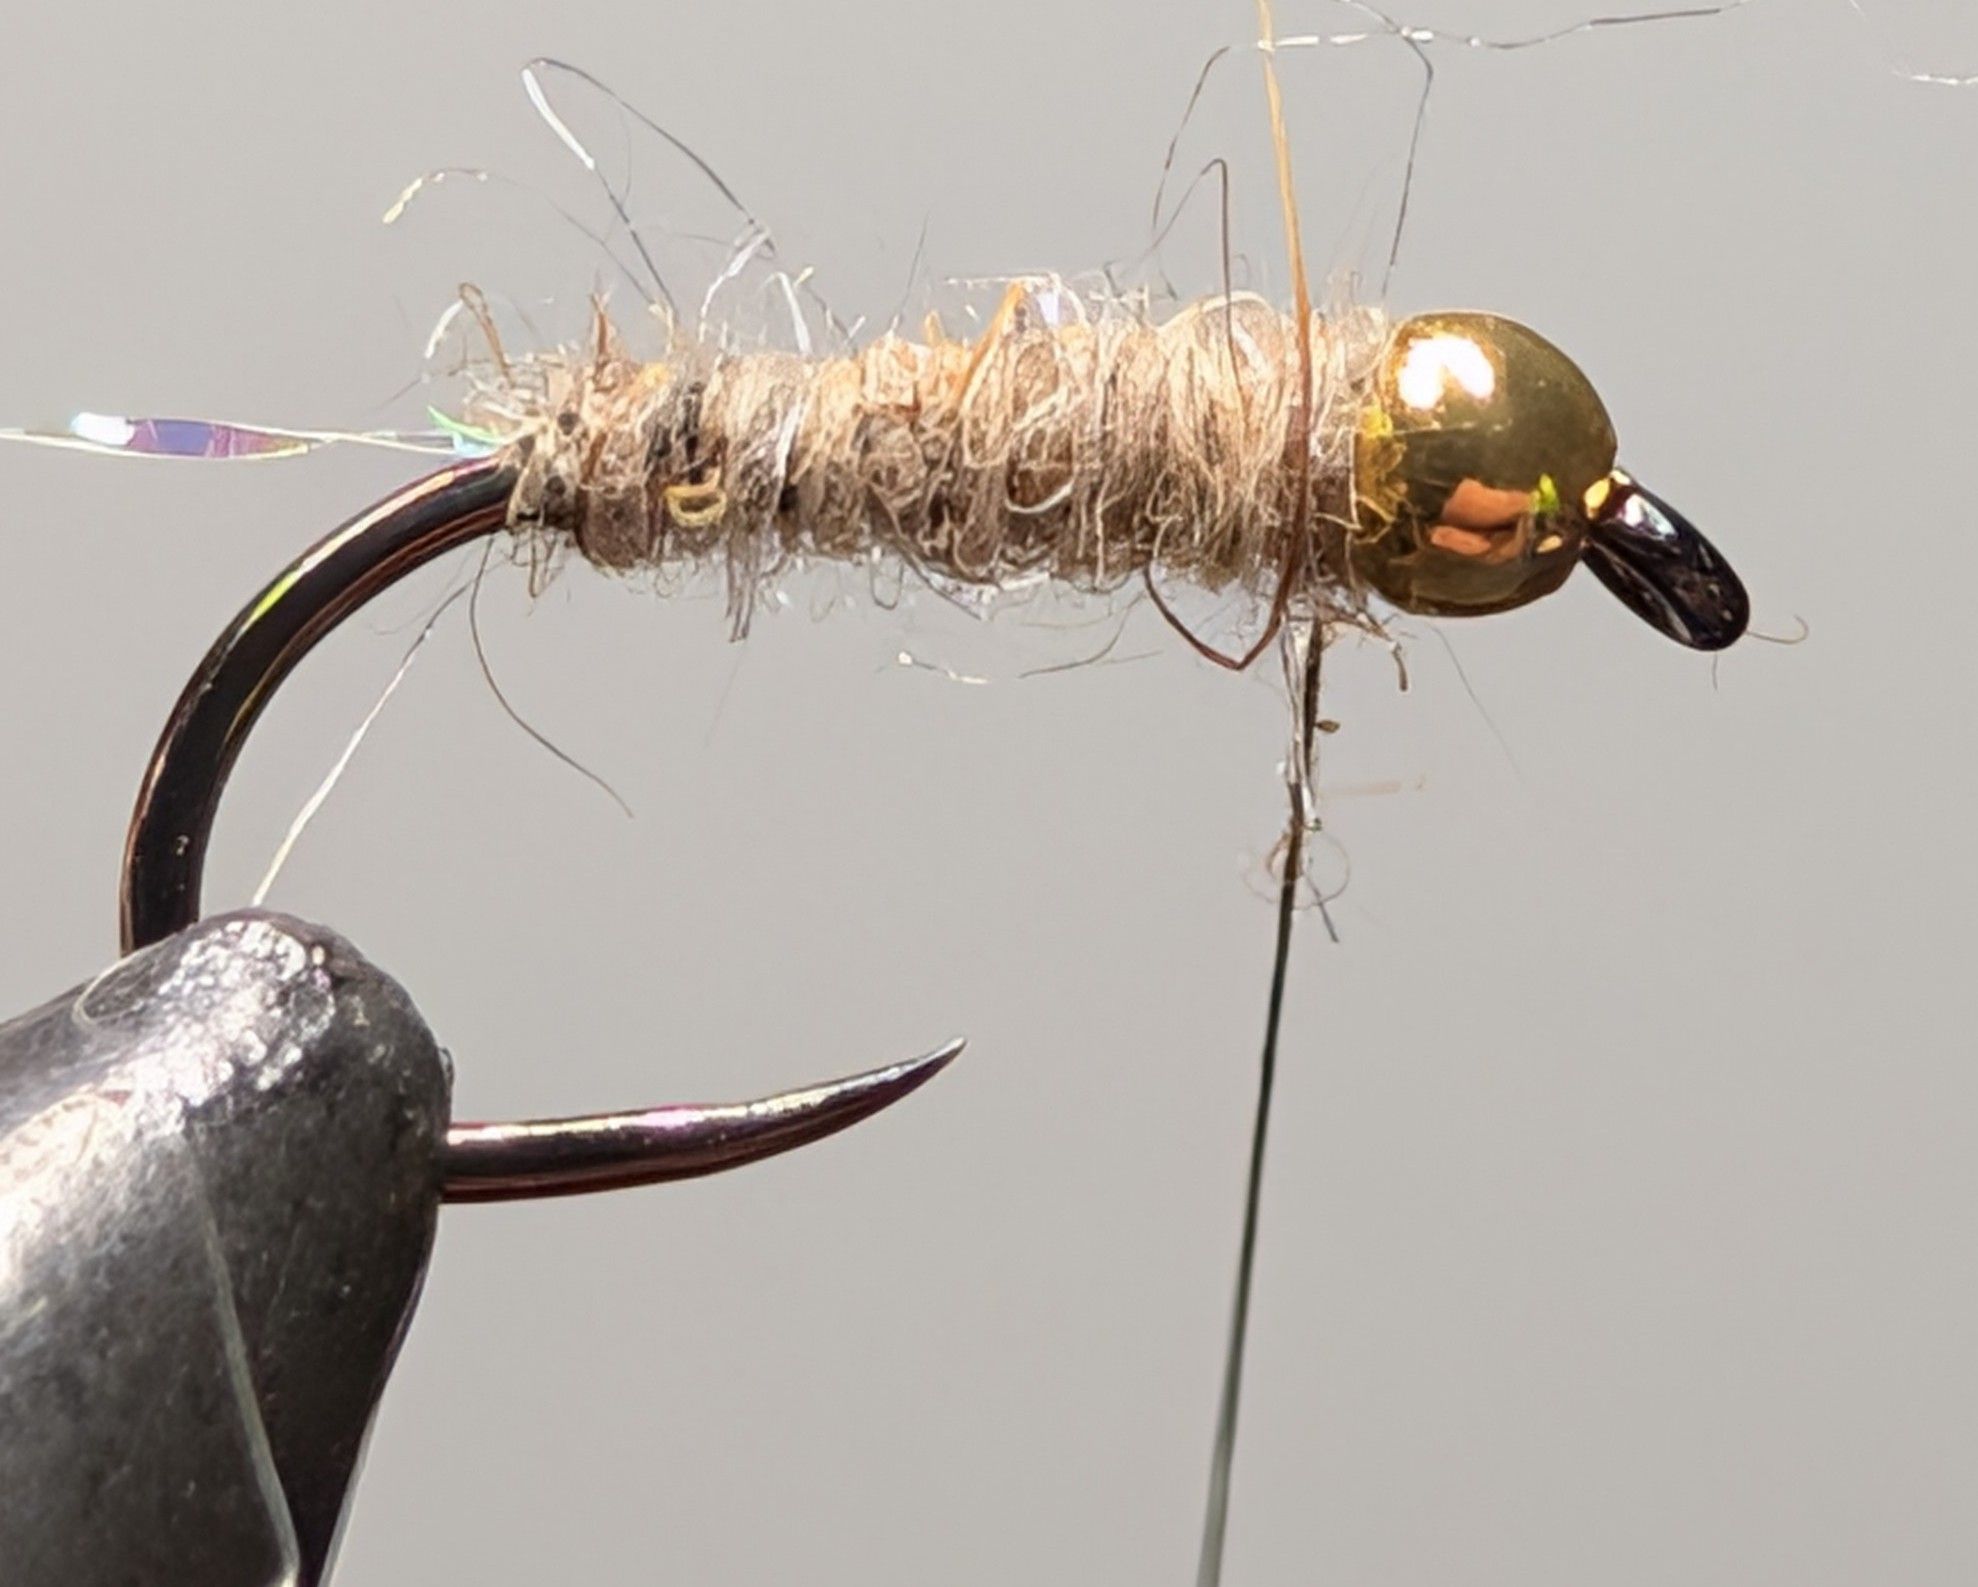
How cool would this thing look if we tied in a thorax like the real bug would have. Oooo, what about a wing case? Very cool, right? Keep that in mind for next time and continue with the dubbing you were already using fancy boy.
Rib It
Right about now, take a toothbrush and brush out the dubbing a little bit. It gets compressed when it’s being wrapped into a body and I want to get it all spiky-buggy again before the rib goes over it.
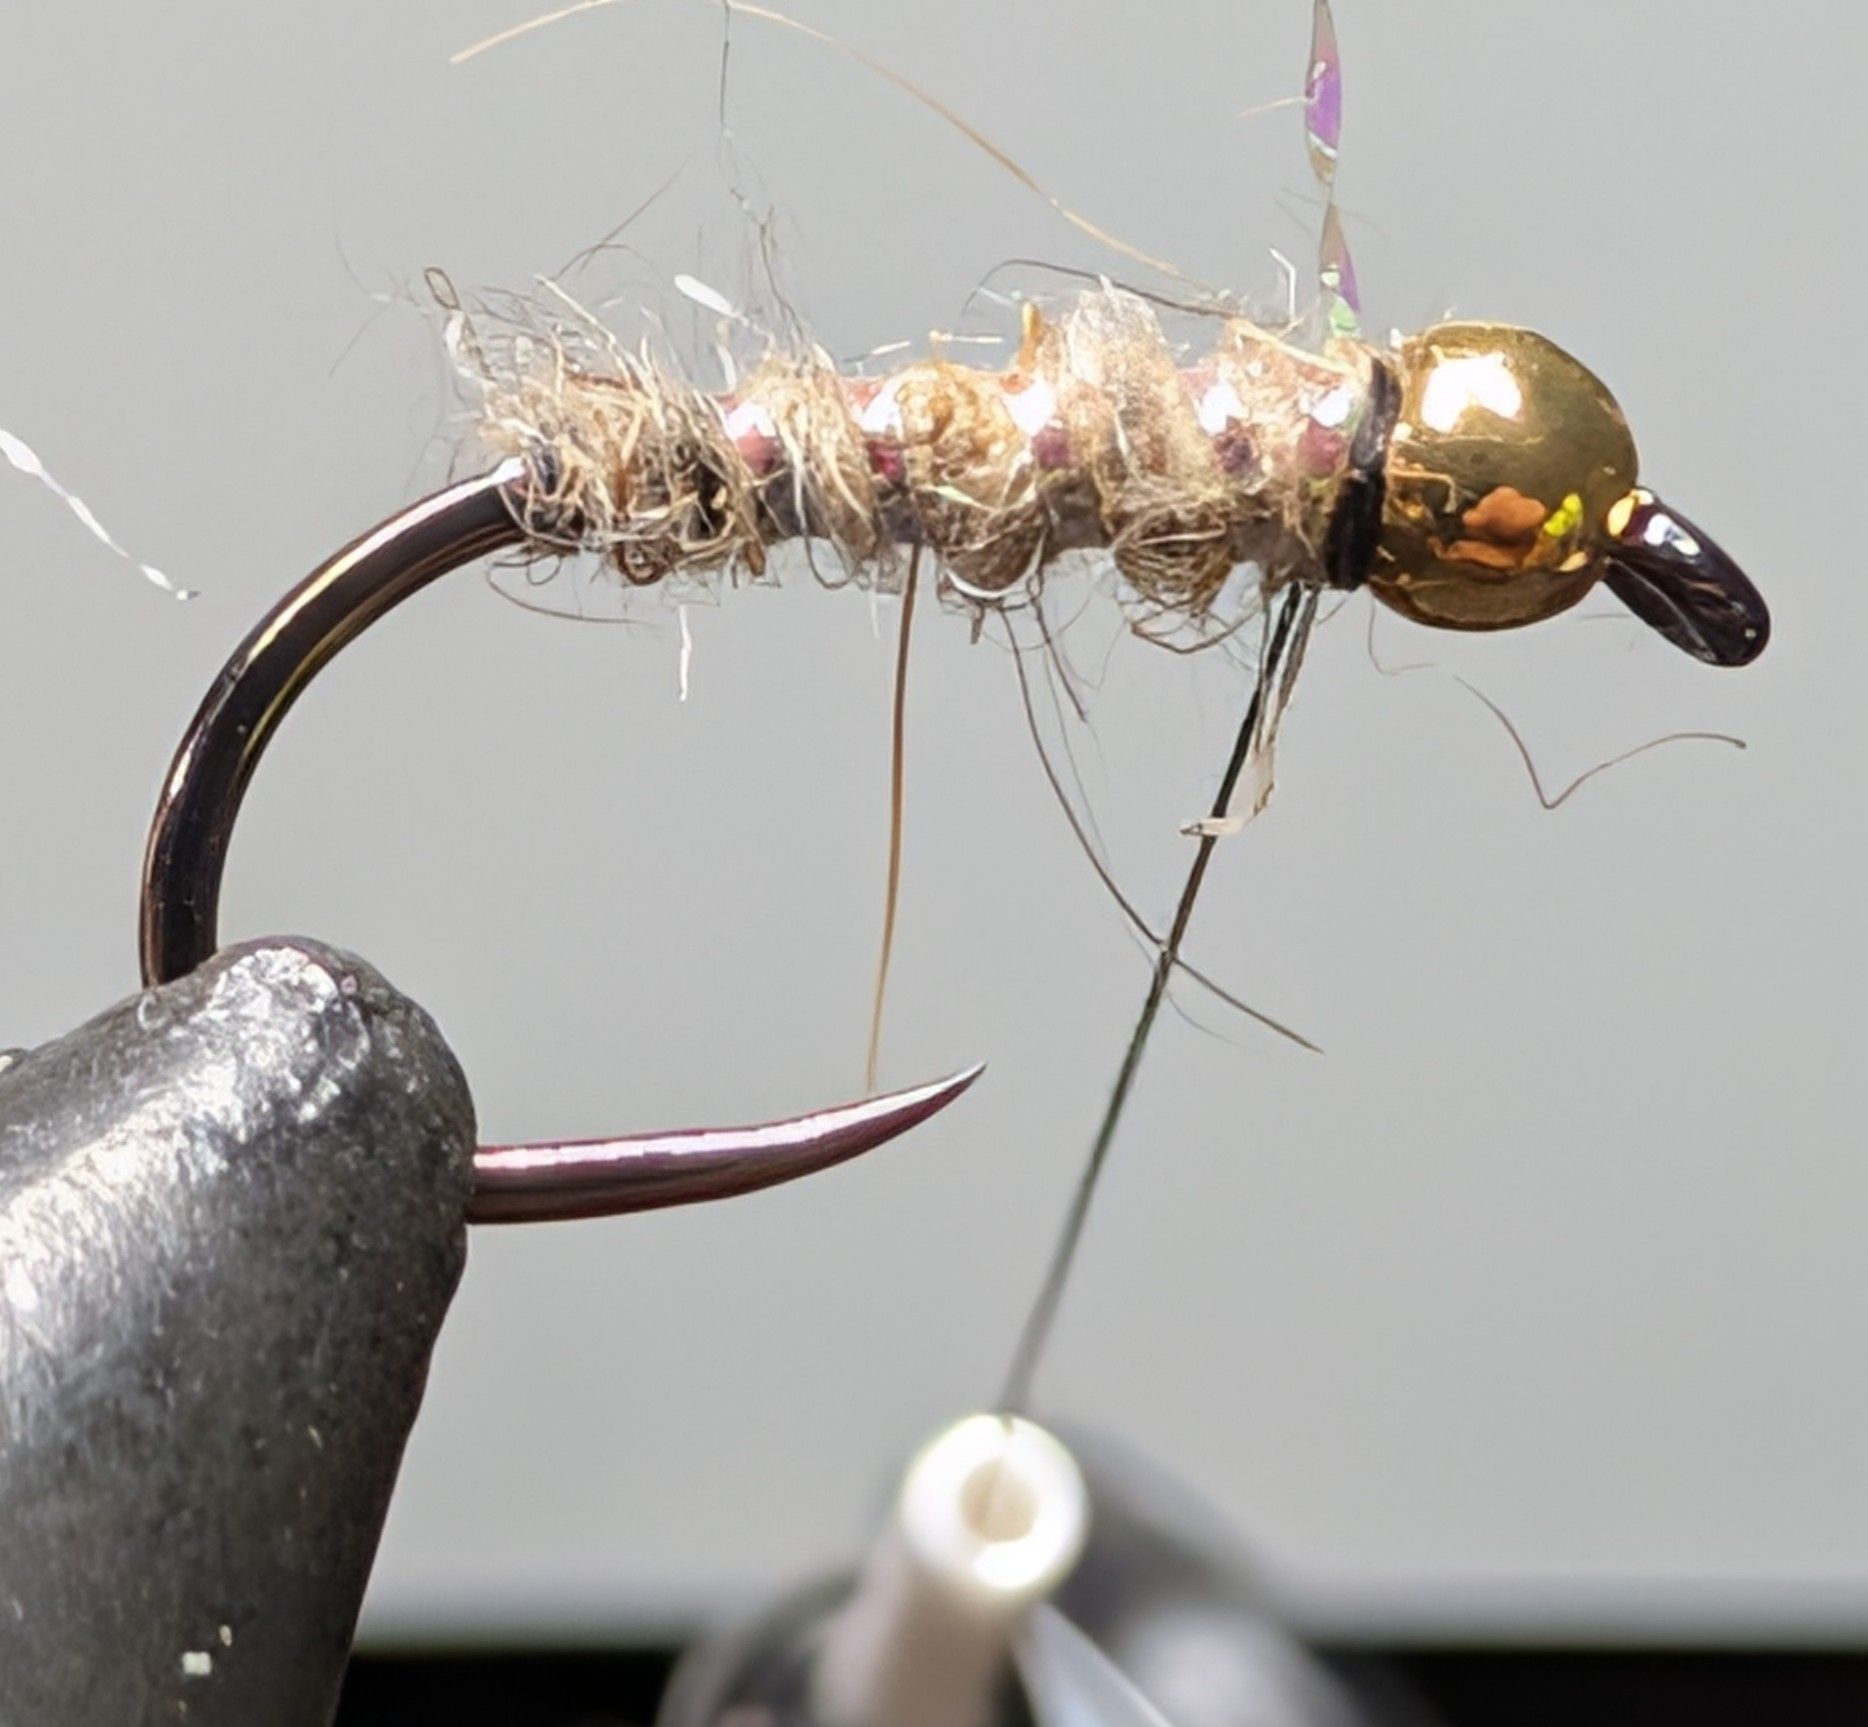
Wrap the rib to the front. My particular version of OCD demands five wraps but do what looks good to you.
Finish
Clip the excess rib and whip finish tight to the bead. Deploy the tooth brush again to free some dubbing (and in my case cover the excess thread in the front. Sloppy!).
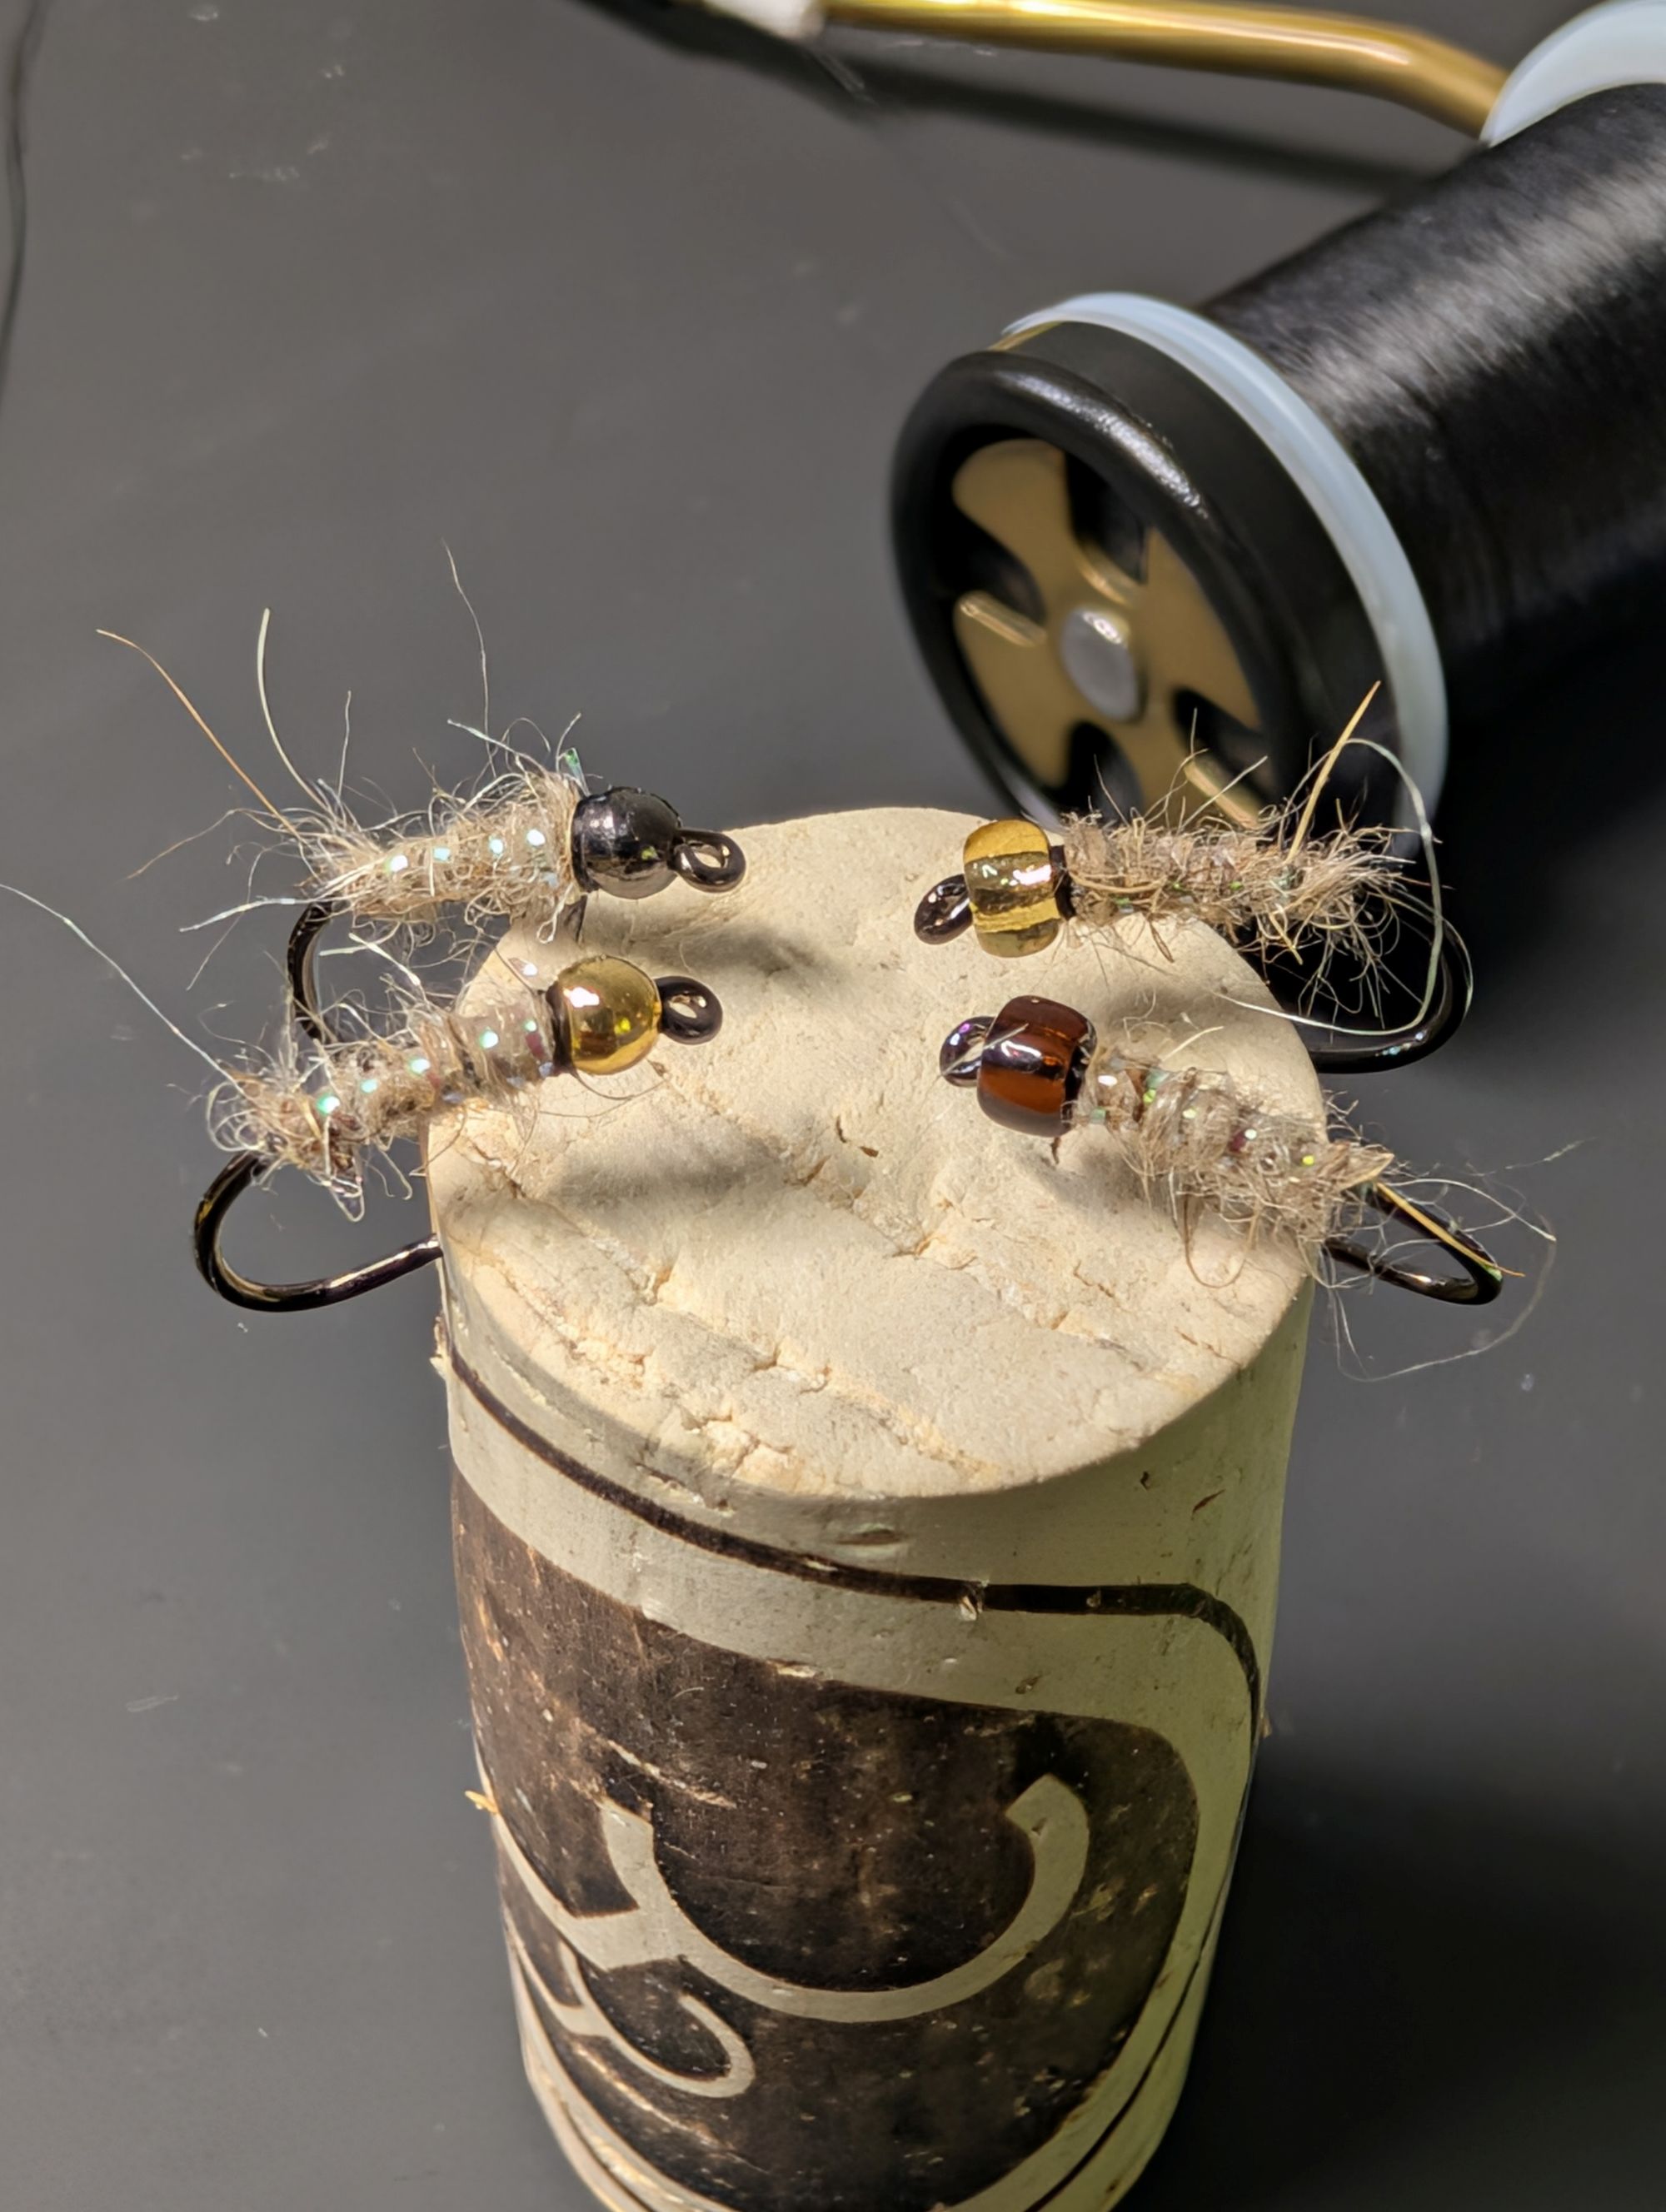
You can see, just a couple of materials (dub and flash) can produce something that will fool some fish for you. Try some different sizes and weights. Next time, I’ll be more uniform in my body taper and careful in my whip finish, but these will do the job in the meantime.